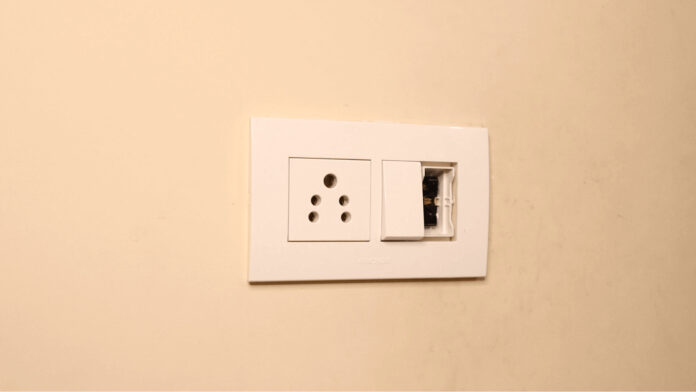
Has your electrical switch ever got damaged?
Due to frequent use and that too for a prolonged time, sometimes the electrical switches get damaged.
How would you replace the damaged switch?
Well, the good news is that it is very easy to replace the electrical switch following the safety rules. You can do it yourself.
In this tutorial, you would learn on how to replace two way light switch.
Safety Caution!
Switch off the branch circuit breaker before starting the electrical work.
Step 1: Collect the tools needed to replace an electrical switch.
You would require the following tools –
- Long insulated screwdriver
- Small minus insulated screwdriver
- Insulated plier
- Non-Contact Voltage Tester
Step 2: Buy the two-way switch of a similar brand.
You must identify the brand and its series and then you have to buy the similar one. In my case, I have used Anchor Penta modular type of switches, so I have replaced them with the similar one. Using another brand may not perfectly fit into the switchboard.
Step 3: Open the electrical switchboard cover.
Open the switchboard cover with the help of a screwdriver (minus type).
Step 4: Open the electrical switchboard.
Once the switchboard cover is open, now you can access the screws (see the below image). Unscrew both screws.
Step 5: Mark the wires with help of markers.
Once the electrical switchboard is open, you can access the wires. Before you touch the wires, ensure that there is no voltage present. You can check it with the help of a non-contact voltage tester.
A two-way switch has three connections. The middle connection is a common one. If the color of the wires used in the switch is identical then mark the wires with the help of a marker. Take a look at the below picture.
Marking the wires would make it easy to identify the wires and you can avoid the mistake of wrongly connecting wires to a new switch.
In my case, blue color wire is used. so, I have marked the wires for identification.
Step 6: Remove the two-way switch connection.
You can use a small insulated screwdriver to remove the switch connections.
Step 7: Remove the two-way switch.
In the modular type of electrical switchboards, it is very easy to remove the switches. There is a small groove provided (shown in the below picture). Use a minus screwdriver and apply downward force. The switch would come out.
Step 8: Insert the new two-way switch.
Both at the top and bottom side of the switchboard (see the below image), there is a small rectangle hole provided. Insert the switch inside that rectangle hole then apply pressure from the upper side. The switch would get fitted.
Once the switch is perfectly fitted, connect the wires.
Step 9: Place the electrical switchboard back into its position.
Place the switchboard back into its position by screwing it.
Step 10: Finally place the cover on the switchboard.
Place the cover on the switchboard. The cover is press fit type. Press the cover on the switchboard. The tuck sound while pressing the cover on the switchboard indicates that the cover perfectly fits into the switchboard.
I hope you would like this tutorial. Please comment us in the comment section below, in case you have any doubts.


